|
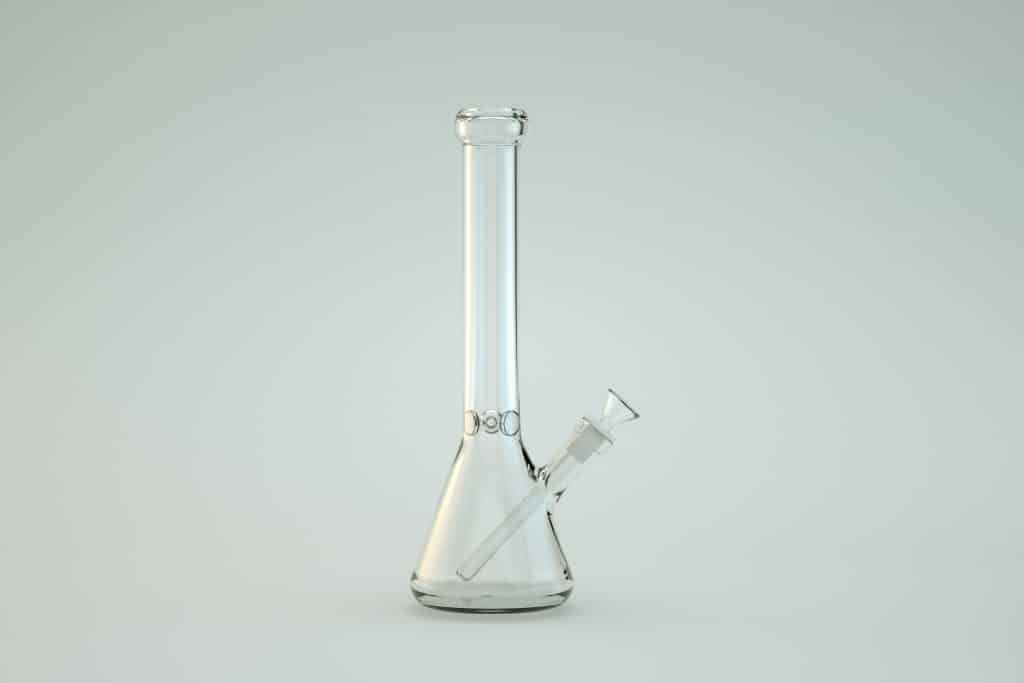
Dabbing is on the rise, and it presents a different way to ingest weed, which is really just a different form of vaping. If you’re super into dabbing or looking to get started, and don’t want to buy a dab rig, (we all know glass breaks easily); perhaps there’s another answer. You can make a DIY dab rig with regular household items, in the privacy of your very own home. It’s pretty friggin easy… Read on for more information. What’s a dab?There’s smoking, which is done in different ways; bongs, pipes, joints, blunts. And vaping, which is also done in different ways; dry herb, oil, dabbing. Today, we’re focusing on dabbing. The difference between dab vaping and standard vaping, is mostly in the equipment used and what is being vaporized. Dabbing requires a smoking device called a dab rig, and is used for concentrates. Much like other forms of vaporization, this means heating the substance to a temperature which releases compounds, without burning the material. Dabbing isn’t done with dry herb ever, it must be a concentrate. And unlike the vape pens and standard dry herb vapes, a dab rig actually looks like, and resembles, a bong. This kind of waterpipe is specifically meant for the vaping of thick oils and concentrates; and also uses the bong water filtration method to cool and filter the vapor. Like most bongs, dab rigs are made of glass. Unlike a regular bong, a dab rig employs the use of a nail (aka bangor). This creates different functionality from a bong. Like a bong, a dab rig has a downstem, which is where the weed product is put for heating. However, instead of a standard bowl piece, it incorporates a ‘nail’; a thin, dish-like structure that goes inside the downstem. The nail is often made of quartz; but can also be made of titanium, ceramic, or glass. The nail is where heat is applied in order to achieve vaporization. Hey there, thank you for stopping by. Get all important updates by subscribing to the Cannadelics Weekly Newsletter. It comes with great deals on tons of products as well, including cannabis flowers, vapes & smoking paraphernalia, edibles, cannabinoid compounds (like delta-8), amanita mushroom products, and a host more. We want to help you feel good…responsibly! Sometimes another piece is used with the nail, called a ‘dome’. This goes over the nail and works to evenly distribute the heat, and maintain the vapor. When a dome is used, the nail is heated with the dome put over it, and then the dome removed and the concentrate applied to the nail. Domes aren’t always necessary though, and those which don’t require them, usually have larger dishes, and a hole in the middle for the vapor to go through. A carb cap is another piece that is used in place of a dome. A carb cap covers the concentrate during heating, and is then removed when the dabber is ready to take a hit. This piece can help regulate temperature and allows for dabbing at lower temperatures; which is preferable to some people, as it makes for a cleaner taste. Dab rigs also use percolators, a cooling device seen in many standard bongs. This makes for the bubbling action of the dab rig. There are several different deigns for percolators, like disc style, stackable, honeycomb, helix, and more. How is dabbing done?If the goal here is to help you with your own homemade DIY dab rig, then its best to know exactly what the setup is supposed to do. Understanding the mechanism is important in creating a DIY and workable version. With a standard setup, heat is applied in one of two ways; with a lighter (torch), or electric dab nail. For torches, butane is usually preferred, but this is personal preference. For an electric dab nail (e-nail), there’s generally a digital display to show precise temperature. This uses an electric current to heat rather than a flame. To get down to basics, the whole thing works by heating the nail, and then applying the concentrate. This creates vapor, which is pulled through the water, and into the user’s mouth. Standard dabbing temps range from 315 – 450º F (157-232º C). A tool, called a dabber, is often required to get the product onto the dab nail, as the product is often sticky, and the nail gets too hot to touch. If you’ll notice, it doesn’t matter which heating method is used, it’s never directly on the concentrate, as this could burn it. Since we’re not looking to burn anything, the nail is the part heated. And that heat is then used to vaporize the concentrate. Apart from this, and the angle of the downstem in the two smoking devices (bongs and dab rigs); they are nearly identical, and easy to confuse in a head shop when not paying attention. DIY dab rig – Mason jar methodMaybe you’re not in a location where buying a dab rig is easy. Maybe you don’t have the money for a good one, or maybe you’re prone to breaking glass pieces and don’t want to add to the graveyard. Whatever the reason, you can actually make your own DIY dab rig, in the privacy of your own home. One of the most basic ways to do this is with a mason jar. 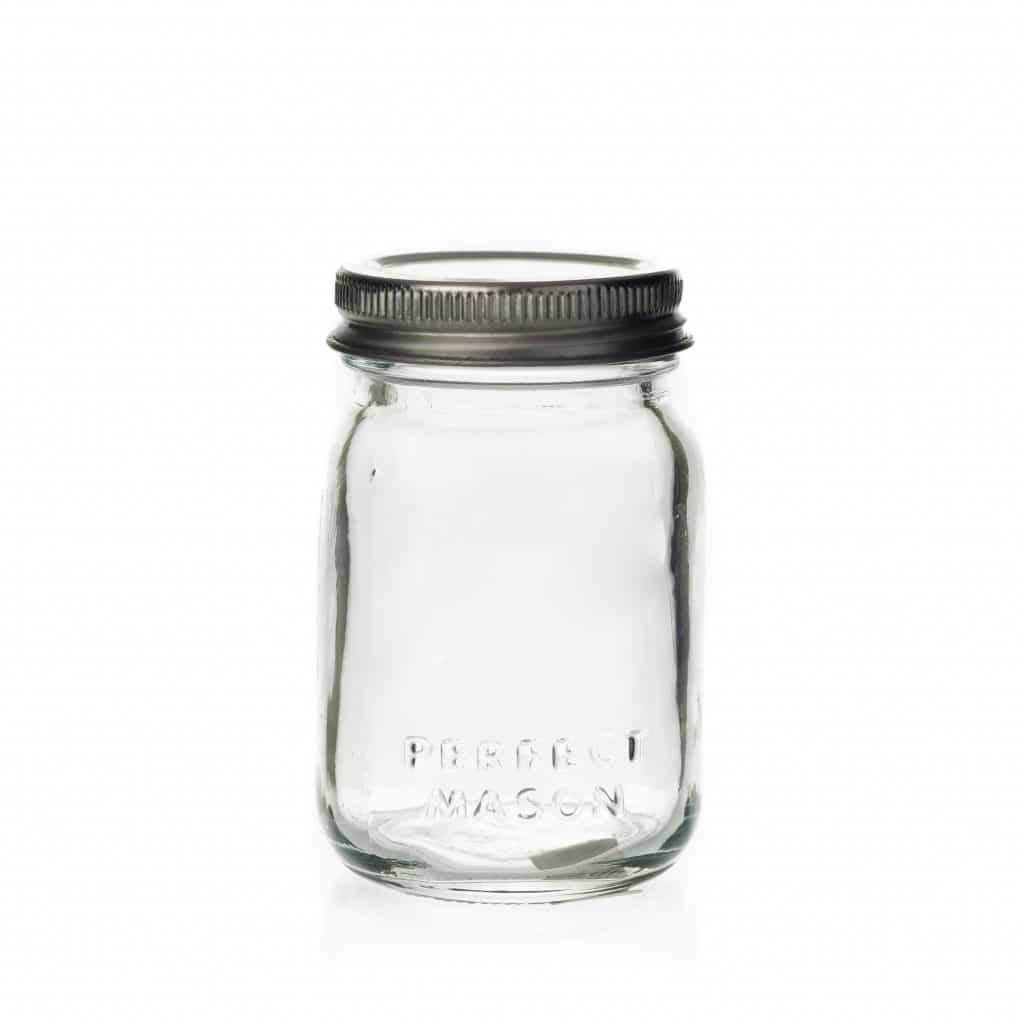
Options 1: DIY dab rig Mason jar materials: 1 Mason jar with a lid, 1 drill, 1 bendy straw, 1 plastic pen with ink removed, 1 titanium dab nail, aluminum foil, and 1 butane torch. The instructions go as follows:
DIY dab rig – bong conversion methodOption 2: DIY dab rig bong conversion. This method employs a regular bong, which is made into a dab rig. Materials for this include: a bong, a bong adapter that fits your bong, and a nail that fits the bong’s joint. Follow these instructions:
DIY dab rig – plastic bottle, hot knife methodOption 3: DIY dab rig with plastic bottle and hot knife. This method necessitates the following materials: metal butter knife with thick handle, dabber or paper clip, plastic water bottle, scissors, electric stove or torch, and optional silicon dab mat. Follow these instructions:
ConclusionThese are three popular (and easy-to-do) options for a DIY dab rig. You can search the internet to find other options if none of these work for you. These methods can be done in a matter of minutes, and with general household items for the most part; giving you a great ability for your very own homemade dab rig. Have fun and enjoy! Hello everyone! Thanks for making your way to Cannadelics.com; where we get down to the nitty gritty in the growing worlds of cannabis and hallucinogens. Stop by regularly to keep up with the Joneses, and subscribe to our Cannadelics Weekly Newsletter, to ensure you’re always up on what’s going down. The post DIY Dab Rig in Your Very Own Home appeared first on Cannadelics. Via https://cannadelics.com/2023/03/26/diy-dab-rig-in-your-very-own-home/
0 Comments
Leave a Reply. |
ABOUT MEHallo, ik ben Rosalina Klerkx, ik ben een RHIA-gecertificeerde zorgbeheerder met meer dan 6 jaar ervaring in het creëren van een productieve omgeving voor zorgprofessionals. Leiding gegeven aan een team van 12 opname- en verkoopmedewerkers in een instelling voor langdurige zorg met meer dan 170 patiënten. Opstellen van complexe HIPAA-conforme rapporten aan patiëntendienstcoördinatoren in een zorgkliniek. Archives
April 2023
Categories |
 RSS Feed
